There are three free IDEs for Arduino Due programming on Windows:
1. Arduino official IDE
2. Visual Studio Community Edition with Visual Micro Extension
3. Eclipse Arduino
In following steps I will discuss setting up the IDEs for Arduino Due:
1. Arduino official IDE
Setting up Arduino official IDE is easy and simple.
Just download Arduino Due official IDE from https://www.arduino.cc/en/Main/Software. Latest IDE version is 1.6.8.
 IDE is available for all platforms (Linux, Windows and Mac).
You can either download installer or zip file for Windows.
After installation open the IDE. It looks like:

The IDE will show you the default program for blinking Arduino default LED.
Getting familier with Arduino IDE:
 Selecting Arduino Due Board to upload the code:
Point to menu Bar then:
Tools->Board->Scroll down and Select Arduino Due (programming Port) under Arduino Arm (32-bits) Boards
 After proper selection of programming board you will see the selected board in status bar of Arduino IDE as shown in below picture:
 Setting up the hardware:


Wndows automatically installs Arduino Due drivers if your operating system is windows 8 or above.

After successfully connecting Arduino due to your computer, Arduino Due default LED will glow as shown Above.
Follow the above steps and you are done.
Now open the Arduino IDE.
Default led blink code will be opened in the IDE. Just click on upload button to compile and upload the code to Arduino Due Board.


Now you will see default LED of your Arduino Due blinking.
Please share the post if you liked it.
Thanks
1. Arduino official IDE
2. Visual Studio Community Edition with Visual Micro Extension
3. Eclipse Arduino
In following steps I will discuss setting up the IDEs for Arduino Due:
1. Arduino official IDE
Setting up Arduino official IDE is easy and simple.
Just download Arduino Due official IDE from https://www.arduino.cc/en/Main/Software. Latest IDE version is 1.6.8.

You can either download installer or zip file for Windows.
After installation open the IDE. It looks like:

The IDE will show you the default program for blinking Arduino default LED.
Getting familier with Arduino IDE:

Point to menu Bar then:
Tools->Board->Scroll down and Select Arduino Due (programming Port) under Arduino Arm (32-bits) Boards

- Connect USB port to one of the USB port available on your computer
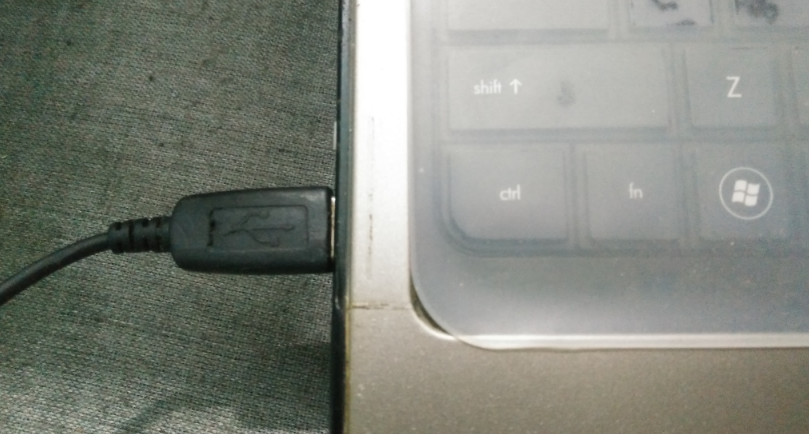
- Connect micro USB port to your arduino Programming port

Back View of Arduino Due Board

Front view of Arduino Due Board

Installing driver for Arduino Due Board
After successfully connecting Arduino due to your computer, Arduino Due default LED will glow as shown Above.
Follow the above steps and you are done.
Now open the Arduino IDE.
Default led blink code will be opened in the IDE. Just click on upload button to compile and upload the code to Arduino Due Board.

Compiling Code

After Compilation and upload
Now you will see default LED of your Arduino Due blinking.
Please share the post if you liked it.
Thanks
No comments:
Post a Comment